A wooden chair may wobble as its joints become loose. Three terms that cause the chair to lose joints such as the material itself, the way you put it, and its functional ways. Especially, the last two factors are responsible to loose the chair joints because if the chair is imbalanced it has more possibility to lose joints.
If one of the joints is loose you should fix it as soon as possible. Otherwise, it will affect another joint and may break the leg joints of the chair. But How to Fix Wooden Chair Joints? Well, the following article has the steps to fix the chair joints, so let’s take a look at what you need to fix it.
What You’ll Need to Fix Wooden Chair Joints
To fix a wooden chair joint you need some tools to open the parts of the chair and replace them again. You can buy them from the retailer shop or hire them from a carpenter if you know anyone. Here is the equipment that you need to fix the chair joints?
- A hammer
- Sandpaper
- Spreader clamp
- Adhesive bond
- Tape
- Locking pillars
- Wood filler
- Damp cloth
How to Fix Wooden Chair Joints
You may use the best wooden chair for Studying though it will have joint problems because of its random use. In case of that, how to fix wooden chair joints, First I will diagnose the chair to check if there is any broken part or not? If there is no broken part surely the problem is with the joints.
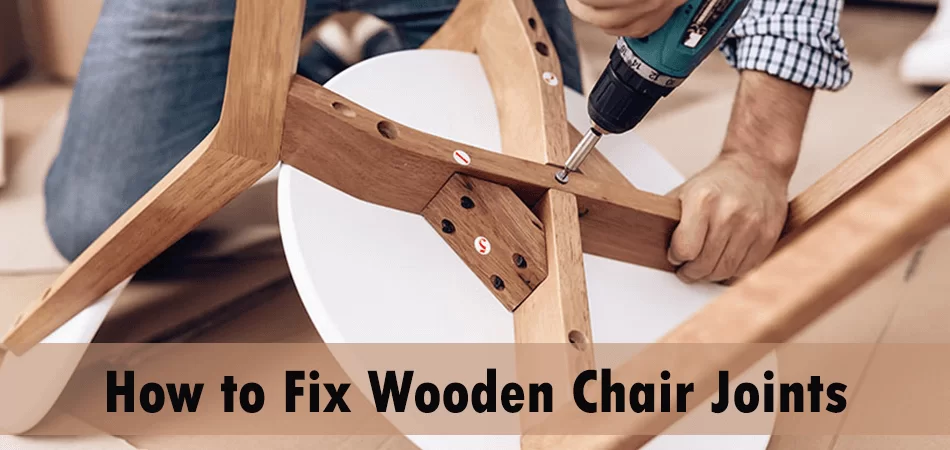
Then I will just put the chair upright on a table by turning the chair upside down. Otherwise, you cannot take off the back of the chair. Next, do the following step by step.
1. Label the Chair Parts
Before you take off the parts use masking tape to write down indications to know exactly how the pieces go back together. You can take my suggestions to mark them. Such as
- FL=Front Left
- FR= Front Right
- BL= Back Left
- BR= Back Right
Put the masking tape facing up when the chair is upright. When you will put them back this indication mark will help you to place them accurately. If you think that you may forget any clips you can label that part too. Then take off all the parts and back of the chair.
2. Take Off The Parts
Now place the chair upside down. Use a spread clamp to take off the parts from the legs of the chair. Put appropriate pressure to avoid any injuries to the parts. Once you take off all the parts then take off the back by using a hammer.
3. Clean the Chair Joints
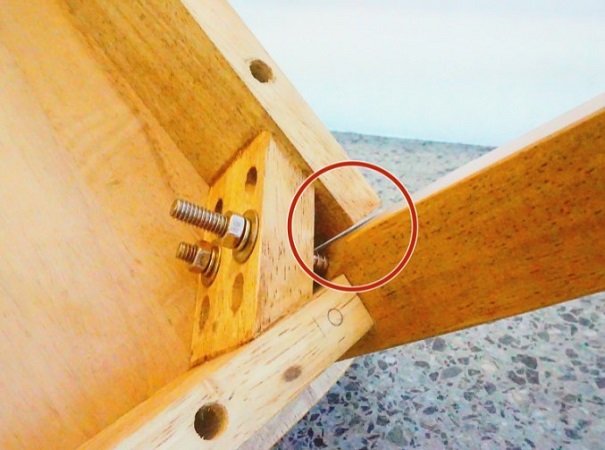
The round hole where the round part is inserted is called the mortise and the round part that you insert into the hole is called a tenon. Clean both of the mortise and tenon to remove the old glue, and dirt.
You have two ways to clean them, one is by using sandpaper and another is by using a file. Make a strip of sandpaper and sand the hole with your finger. However, doing it with the file is faster than sandpaper. Just insert the file into the hole and round it with your palm using two hands.
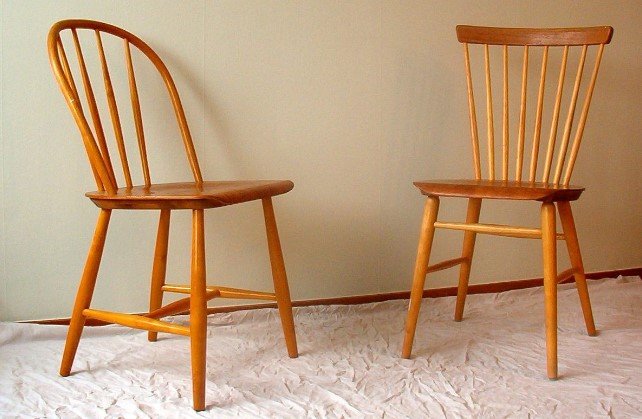
You can use the forcner drill if you think there is more to clean. Don’t sand too much otherwise, it may become big that will make it worse. Next, do the tenon in the same way. Here I will prefer the round tenon as well, but you can choose whatever you feel comfortable with.
4. Fit the Chair Joints to Test
When you have done cleaning you should fit the joints together to test them. Because after gluing them if it is imbalanced you have to do the work twice. So I recommend checking them before gluing them together. However, if you put them without checking and find a problem take them off instantly and wipe the glue with a damp cloth
5. Glue Them to Put Them Back
Use a paintbrush to start gluing the parts. Start from the mortise then do the tenon. There is carpenter’s glue available on the market. I suggest PVA glue which is very effective for wood joints. Cover every inch of the hole and tenon then put it back. Do it one after another then put back the back of the chair.
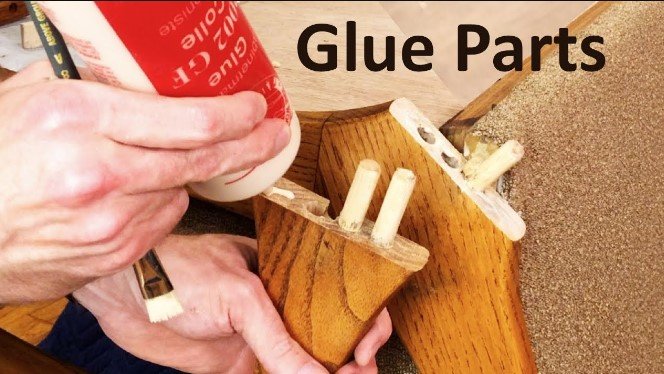
Make sure you use enough glue in both mortise and tenon to make the joints strong and durable. Don’t forget to wipe the access glue with a damp cloth. Remember to start putting the joints from the front side and finish from the backside.
Now it’s time to place the chair legs, after that put it on the ground and place a heavy object to test if it is still wobbly or not?
Things to Remember When Fix Wooden Chair Joints
To fix the chair you are using some tools and modify the mortise and tenons if needed. Also, you have to balance your pressure point while working with the hammer and spreader clamp. In these cases, you should take some precautions to keep it fit and balanced.
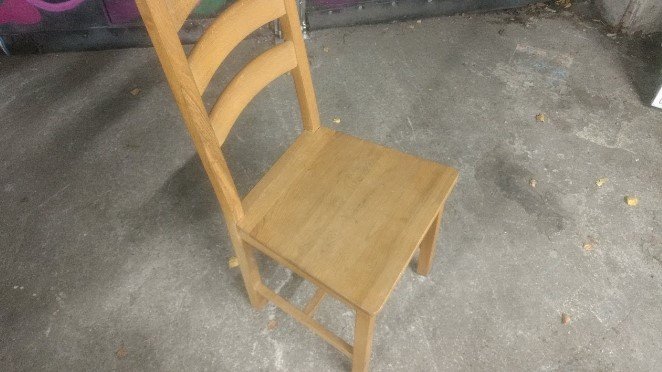
- Make sure the pad is stable and don’t move around when you put the chair on it.
- Don’t use too much pressure while using the spread clamp.
- Force appropriate power while using the hammer to open the back of the chair.
- Don’t make the mortise too big or don’t make the tenon thinner than the existing size when sanding them.
- Fix the joints with the existing orders that you marked when opening the joints.
Final Statement
As a carpenter, I know how to fix wooden chair joints. It may be a tough task for a beginner but don’t worry I have presented the perfect and easy methods to fix them. If you are thinking How to Fix wobbly Chair Joints at home, just follow the tips.
While you are fixing the joints with the mentioned tips, mind taking the precautions to avoid making the chair worse. However, if you think that this information is beneficial don’t forget to share it with your friends and family.

